Install Manual
(CM5 Program Update Guide)
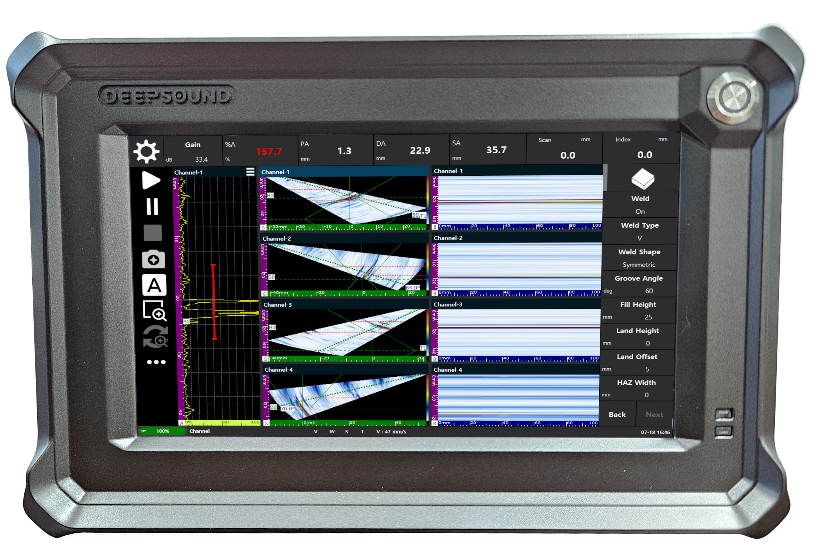
This guide provides official instructions for safely updating the CM5 program to the latest version on DEEPSOUND B3 and DEEPSOUND T3 equipment to improve system operational efficiency and performance. Since these devices run on a Linux-based operating system, please proceed carefully by following this step-by-step guide.
1. Pre-installation Requirements
Before starting the update process, ensure that all the following items are prepared.
- DEEPSOUND B3 or T3 equipment (Active internet connection required)
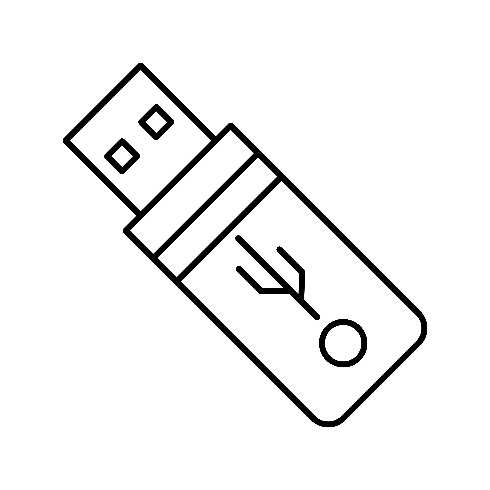
- 1 USB flash drive (FAT32 or NTFS format recommended)
- 1 USB hub (for port expansion)
- USB keyboard and mouse
- Latest CM5 installation program (
.zipcompressed file)
[Equipment and Environment Reference]
| [1] USB | [2] USB Hub |
|---|---|
|

|
| [3] DEEPSOUND Equipment | [4] Internet Connection |
|

|
2. Step-by-Step Update Guide
Step 1: Download Program and Copy to USB
- Use a PC to access the Download section on the official DSPAUT website.
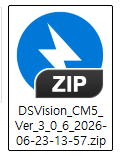
- Download the latest version of the CM5 program compressed file (
.zip). - Extract the downloaded file and copy the executable files and related asset folders to the root directory of the USB flash drive.
- Connect the USB hub to the USB port on the right side of the equipment, and insert the prepared USB flash drive into the hub.
Step 2: Enter Linux Desktop and Configure Environment
- Connect the keyboard and mouse to the USB hub connected to the equipment.
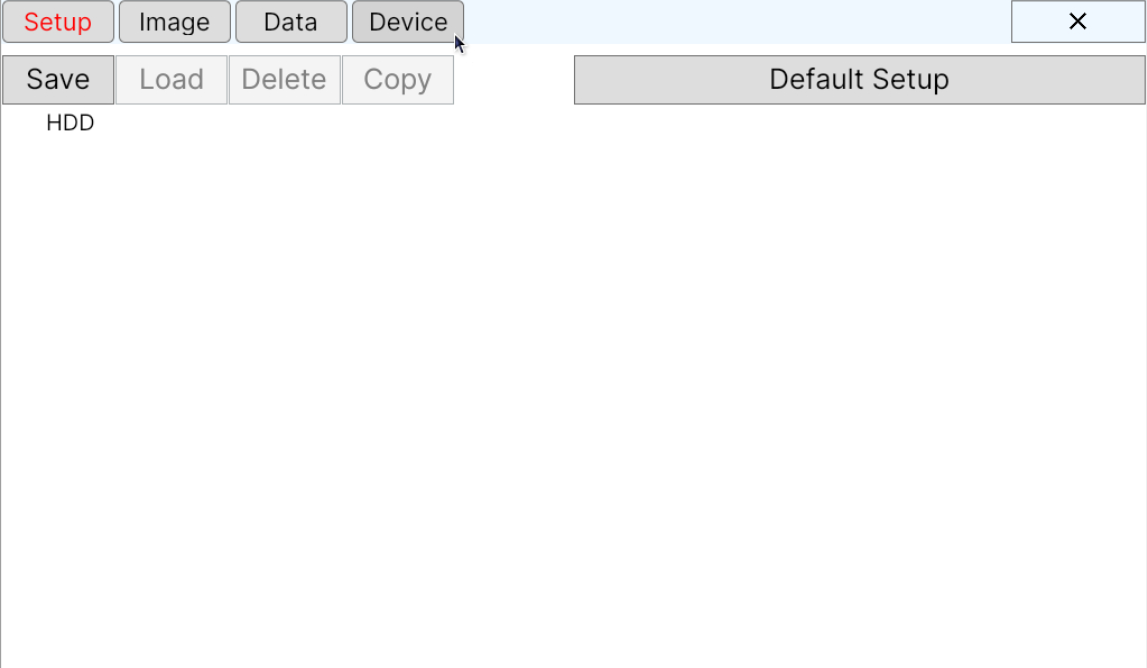
- Follow the click instructions on the system UI to enter the Linux OS desktop:
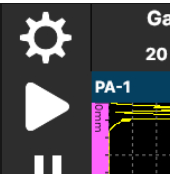
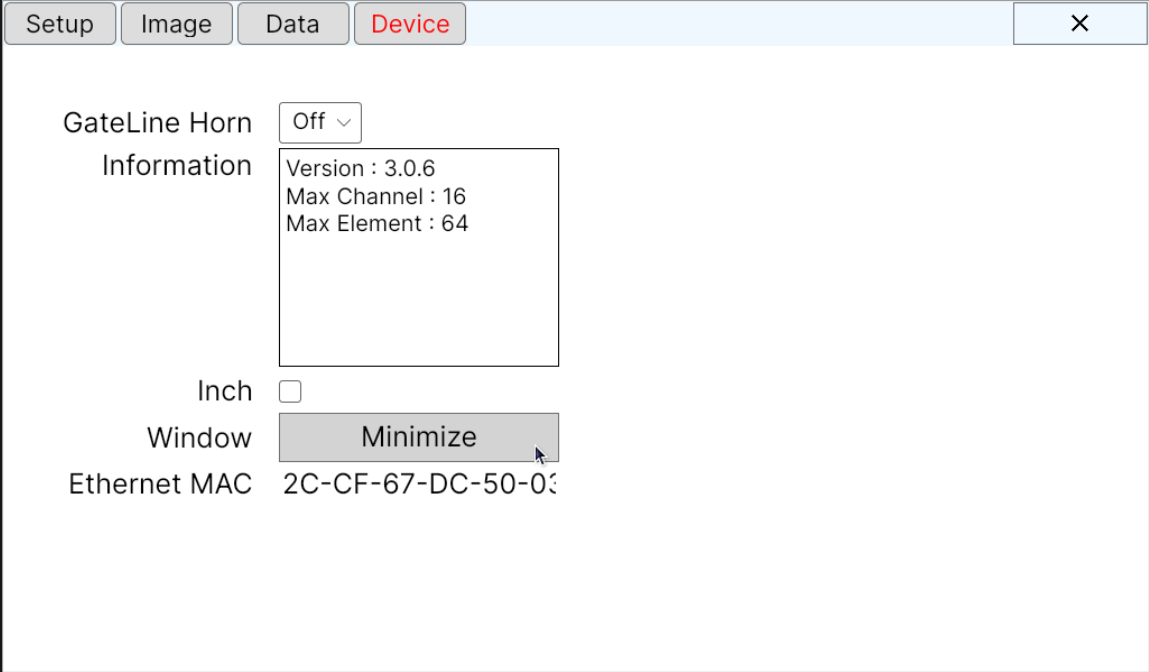
- Click the Configuration Icon at the top of the screen or in the system tray.
- Locate and select the Device item from the configuration and control menu, then click the Minimize button or the related hide tab in the top-right corner.
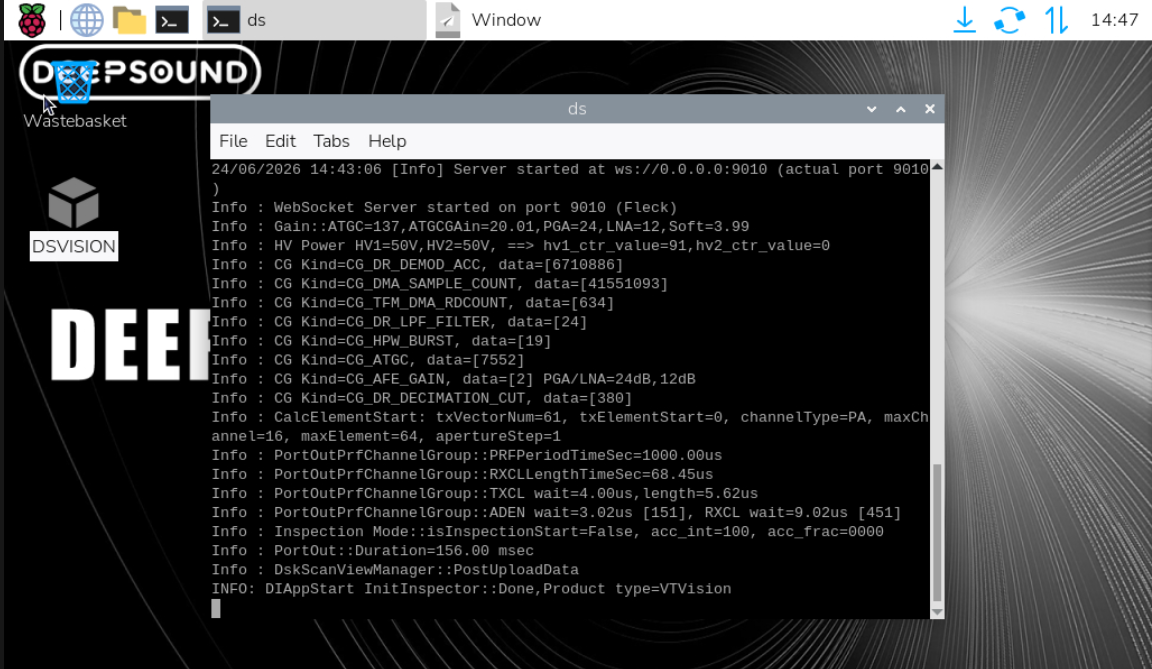
- The configuration window will minimize to the bottom, allowing you to access the active Linux desktop.
- The equipment is designed to allow desktop access via a keyboard and mouse for user convenience. This allows you to copy, move, and utilize internal files such as Data, Image, and Set files via USB.
⚠️ IMPORTANT
The equipment must remain connected to the internet throughout the entire update process.
Step 3: Close the Currently Running Program
- Once the Linux desktop is visible, locate the main program window currently running on the screen.
- Click the “X” icon in the top-right corner of the program window to completely close the existing software.
Step 4: Launch the System Dashboard
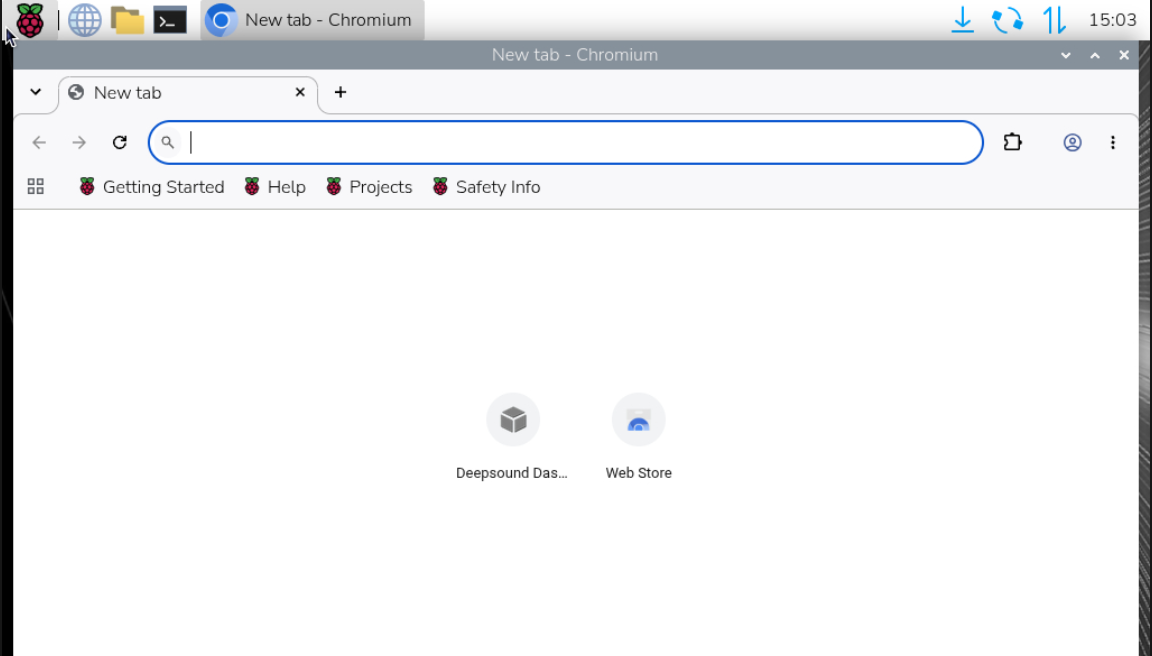
- Click the Web Browser Icon on the desktop or the taskbar to launch a browser window.
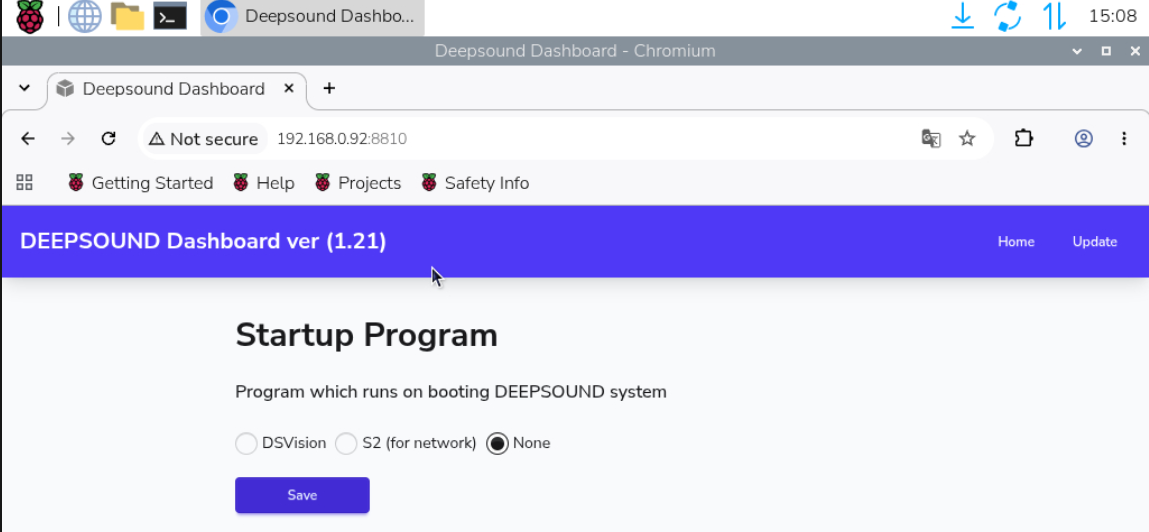
- Once the browser opens, enter the IP address and port number (
8810) assigned to the equipment in the address bar to access the system dashboard.- Connection Example:
http://192.168.0.92:8810 - Note: IP addresses vary by device. Ensure you verify the correct IP address in the device settings before entering it.
- Connection Example:
Step 5: Select and Upload the Update File
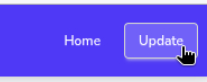
- Click the Update menu link in the top-right menu of the system dashboard page.
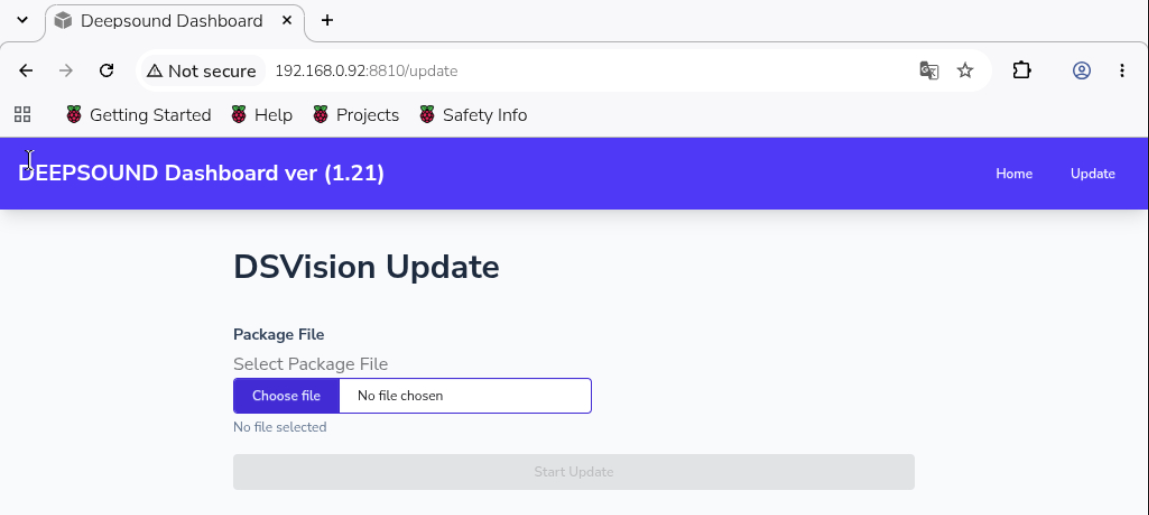
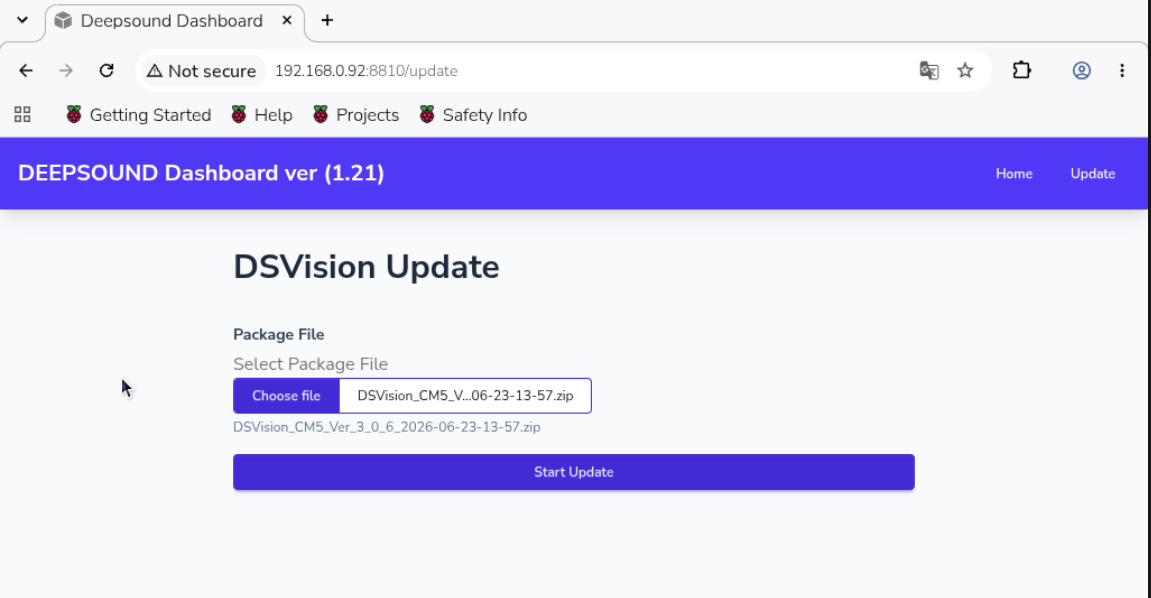
- On the Update screen, click the Choose File button in the center.
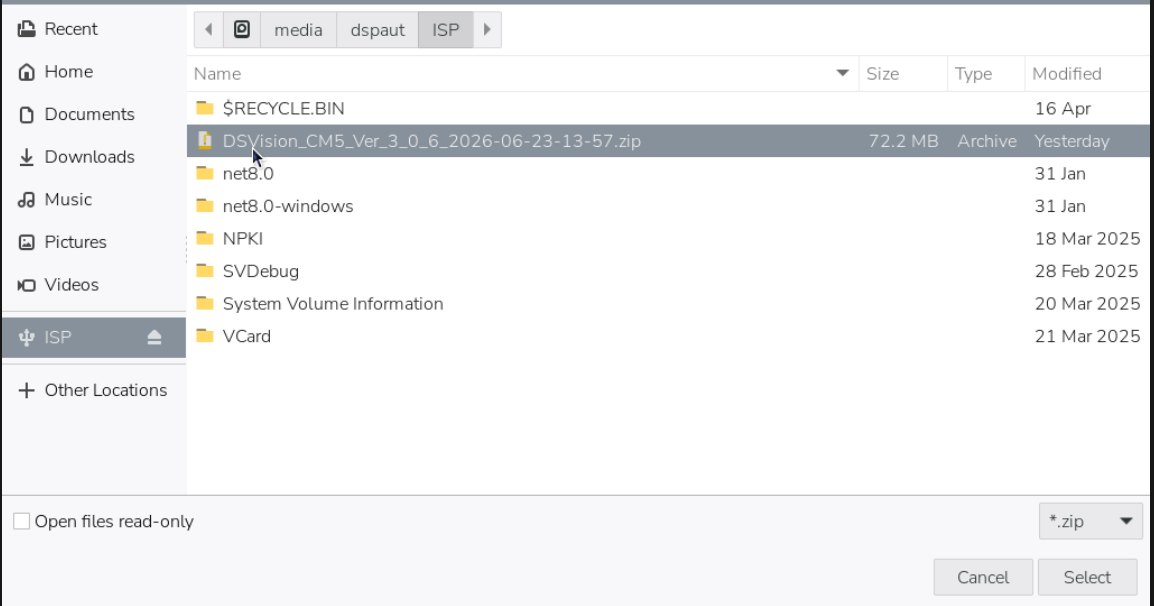
- In the file explorer window, select the connected USB drive from the left panel, locate the latest CM5 update program file copied earlier, and click to select it.
Step 6: Execute Update and Process Progress
- Verify that the selected program filename is correctly displayed next to the Choose File button.
- Once verified, click the Start update button at the bottom to initiate the update installation.
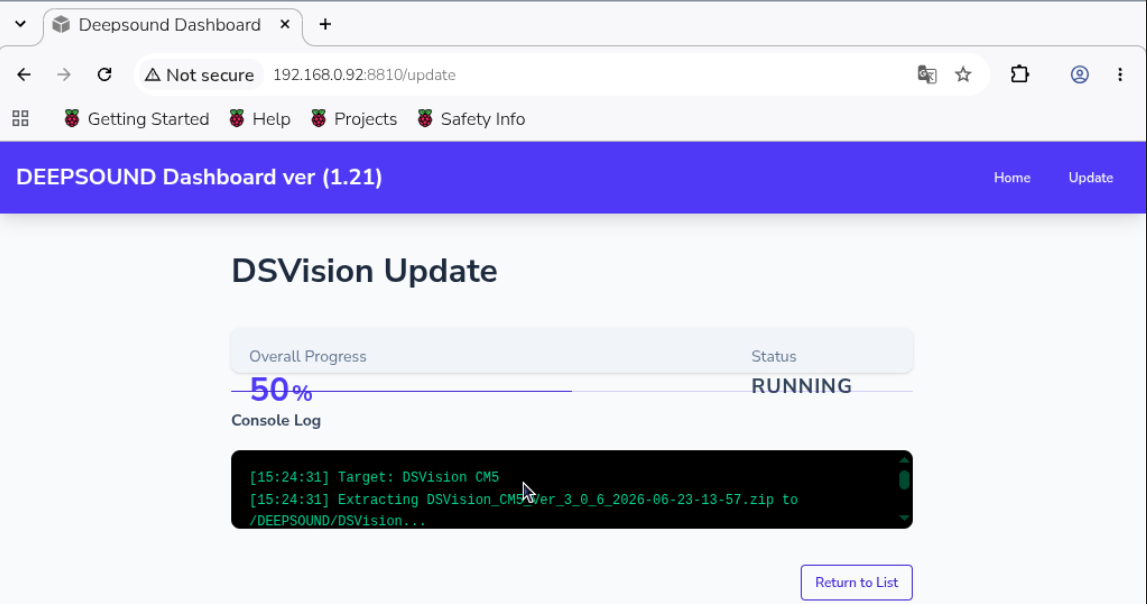
- A
Runningstatus message will be displayed in the status bar while the internal system files are being replaced. - Once the installation is successful, the status message will change to
Running ➔ Success, indicating that the update process is complete.
Step 7: Reboot System and Verify Version
- After confirming the installation success (
Success) message, completely turn the equipment power off and back on to reboot the hardware system. - Once powered back on, the updated CM5 program will automatically launch in the background.
- When the program interface appears, hover the mouse cursor over the version display area in the bottom-left corner of the UI to check the version information.
- Verify that the old version has been successfully updated to the latest version to complete the manual procedure.

💡 Additional Tip
If the program malfunctions or a specific data synchronization error occurs after the system update, please recheck the IP configuration to ensure the equipment is properly linked to the internet hub, or contact the SEONGSANLAB Co., Ltd. Technical Support Portal.